Knowing how to perform infant CPR is one of the most important skills a parent or caregiver can have. Infant emergencies are rare — but when they happen, the moments before emergency services arrive are critical. This step-by-step guide walks you through infant CPR and infant choking response so you can feel prepared, not fearful.
That said, reading about CPR and practising CPR are very different things. We always recommend following this guide with hands-on training so your body — not just your mind — knows what to do.
Infant CPR vs. Adult CPR: Key Differences
Infant CPR is not the same as adult CPR. Babies have smaller airways, more fragile ribs, and different proportions — which means the technique changes significantly.
- Compression depth: For infants, compress approximately 4 cm (1.5 inches). This is ⅓ depth of the infant’s torso. For adults and children, it’s 5–6 cm (2 inches).
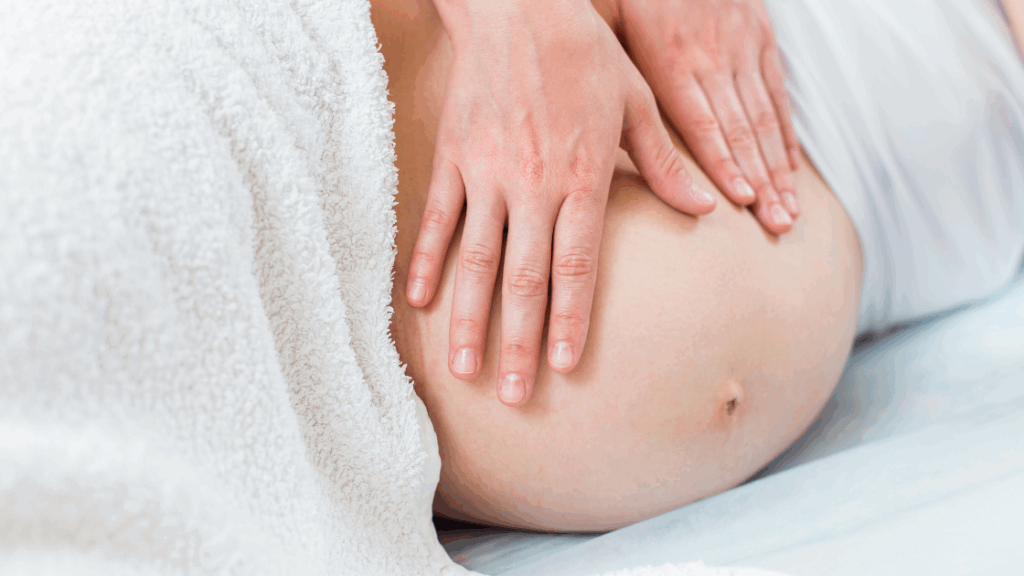
- Hand placement: Use two fingers (index and middle) on the centre of the chest, one finger below the nipple line. Never use your full hand.
- Rescue breaths: Cover both the mouth and nose of the infant with your mouth. Breathe gently — only enough to see the chest rise.
- Compression rate: 30 compressions to 2 rescue breaths, at a rate of 100–120 compressions per minute — the same rhythm as adult CPR.
How to Recognize When a Baby Needs CPR
Perform infant CPR if your baby:
- Is unresponsive and cannot be woken
- Is not breathing or is only gasping
If your baby is conscious and crying, CPR is not needed — focus on assessing what is wrong and calling for help.
Step-by-Step Infant CPR Guide
Step 1 — Check for responsiveness
Tap the bottom of your baby’s foot and call their name. If there is no response, shout for help and call 911 immediately — or ask someone nearby to call while you begin CPR.
Step 2 — Open the airway
Place your baby on a firm, flat surface. Gently tilt the head back to a neutral position — just enough to open the airway. Do not over-extend. In infants, a slight tilt is all that is needed.
Step 3 — Check for breathing
Look for chest rise, listen for breath sounds, and feel for air on your cheek. Do this for 5 seconds. If your baby is not breathing, begin CPR.
Step 4 — Begin chest compressions
Place two fingers in the centre of the chest, just below the nipple line. Press down approximately 4 cm (1.5 inches) and release fully. Complete 30 compressions at a rate of 100–120 per minute. Let the chest fully recoil between each compression.
Step 5 — Give rescue breaths
Cover your baby’s mouth and nose with your mouth and give 2 gentle rescue breaths. Each breath should last about 1 second — just enough to see the chest rise. If the chest does not rise, reposition the head and try again.
Step 6 — Repeat the cycle
Continue the cycle of 30 compressions and 2 rescue breaths until:
- Your baby shows signs of life (breathing, movement)
- Emergency services arrive and take over
- You are physically unable to continue
Step 7 — Stay on the line with 911
If you called 911 before starting CPR, keep the dispatcher on the phone. They can guide you through each step in real time and will keep you calm and focused until help arrives.
What to Do If Your Baby Is Choking
Choking is different from emergency rescue and requires a different response. If your baby is conscious but unable to cry, cough, or breathe:
Back blows
Hold your baby face-down along your forearm, supporting the head. Use the heel of your hand to deliver 5 firm back blows between the shoulder blades.
Chest thrusts
Turn your baby face-up, supporting the head. Place two fingers on the centre of the chest and deliver 5 chest thrusts — firm and downward, about 4 cm deep.
Repeat
Alternate between 5 back blows and 5 chest thrusts until the object is dislodged or your baby becomes unresponsive. If your baby becomes unresponsive, begin infant CPR and call 911 immediately.
Never perform a blind finger sweep. Only remove an object from the airway if you can clearly see it.
When to Call 911
Call 911 immediately if your baby:
- Is unresponsive
- Is not breathing or is gasping
- Is choking and back blows and chest thrusts are not clearing the obstruction
- Has had a seizure
- Has swallowed something dangerous
Do not drive to the hospital yourself. Stay where you are, begin CPR if needed, and wait for EMS.
Why Reading About CPR Is Not Enough
Infant CPR looks straightforward on paper. In a real emergency — when your hands are shaking and your heart is racing — what you’ve practised becomes instinct. What you’ve only read does not.
Research consistently shows that hands-on CPR training significantly improves performance under pressure. The physical practice of compressions, the feel of the correct depth, the rhythm of 30 and 2 — these need to live in your body, not just your memory.
Infant CPR Training in Toronto
At kāer Wellness in Leslieville, East Toronto, we offer monthly Infant CPR Training — a hands-on class for parents and caregivers covering infant CPR, infant choking response, and emergency decision-making. Sessions are led by certified instructors in a calm, supportive environment.
$65 per person. No prior experience needed.
The class moves through demonstration, guided practice and repeated repetition so the skills become instinct — not just information.
Reserve your spot at kāer’s Infant CPR Training →
Preparedness is one of the most loving things you can do for your baby. We hope you never need these skills — and we want you to have them.
This blog was reviewed by kāer Wellness Infant CPR Instructor, Jessica Price.